|
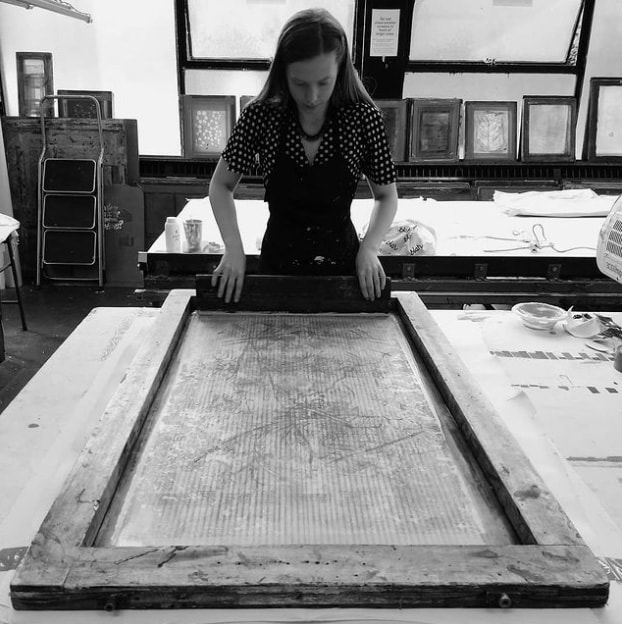
Here's me, printing away during my fourth year at Gray's School of Art. If, like me, you are a textile graduate who used to spend hours in the print room exposing 3 screens at a time, printing with acid dyes, using puff binder, devore and flock it’s likely that you have come to the same unfortunate conclusion as me since graduating; there are none of these facilities outside of art school. Over the past 3 years I’ve gone through a lot of trial and error trying to work out the most accessible processes outside of a workshop to allow me to continue to create. This led me to find a few completely new processes including hand tufting and collage which have led to some exciting developments in my practice and are techniques I will continue to use in future. However, I really just missed printing and the flat finish of a screen-printed shape. I never gave up hope that I would once again hear the squeak of a squeegee and feel the anticipation of lifting the screen to see if all the time consuming steps taken to plan and cut my paper stencil, line up my screen and mix my ink thoroughly and were worthwhile. In these blogs I am going to share some of the things I have learned over the past few years of trial and error and hopefully inspire someone to continue to print post art school or even better to return to printing after years of missing out because they realise that it IS accessible to them with only a few basic, affordable tweaks. A big concern of mine when I first started guerrilla printing was making sure that the finish was still professional and that any lack of equipment wasn’t noticeable in the end product. I had worked away for 4 years in the print studio and was confident that I knew what to look out for to make sure my work was finished to a high standard but once I was printing in a completely new and unequipped environment I had to re-learn everything about finishing a print with no tutor or technician to guide me. Hopefully these blogs can save you a lot of heartache from realising that the ink wasn’t mixed correctly and there are streaks of pigment through your print or even that you haven’t blocked out part of the screen and the ink has marked another bit of your fabric because these are frustrating and costly mistakes when you are a recent graduate. My way of working is affordable and accessible without the need for an exposure unit, emulsion, heaters, oven or steamers. I’m not claiming to be an expert and depending on what your end product is you may have to adjust things to make this work for you, I’m just sharing how I work in my studio in the hope of passing on this information to someone who like me would live in the print studio if they could! My first blog will talk about equipment and give a basic overview of what you really do need to start printing at home/without a workshop, giving a cost breakdown of everything and linking some great websites to find affordable equipment. This is a DIY/makeshift approach however there are certain things you just can’t be without, and other things which help but aren’t necessary to create a high quality print and can be worked towards once you are more comfortable printing. What I will say is that printing without a workshop is fiddly and time-consuming and you have to really want to make screen-prints for all the effort to seem worthwhile but over time, it does become more natural and muscle memory builds where you can work away without even thinking about how awkward it once was. In the next few blogs I will cover:
If these sound like things that you would find useful or would like to learn about, keep an eye on my website and Instagram for the next blog and feel free to leave me any comments with questions you may have about this series. Happy printing!
0 Comments
|
About meI am a textiles graduate specialising in printed textiles and tactile surfaces hoping to feed back my many hit and misses to feed back the easiest ways to print post-art school. ArchivesCategories |
Proudly powered by Weebly

 RSS Feed